In this tutorial, we will show you how to configure and remotely control Trossen Robotics' PhantomX Pincher Robot connected to Leo Rover.

The PhantomX Pincher AX-12 Robot Arm is a 4 degree-of-freedom robotic arm and an easy addition to the TurtleBot ROS robot platform. This hardware kit comes with everything needed to physically assemble and mount the arm as a standalone unit or as an addition to your Turtlebot Robot/mobile platform. [source: trossenrobotics.com]
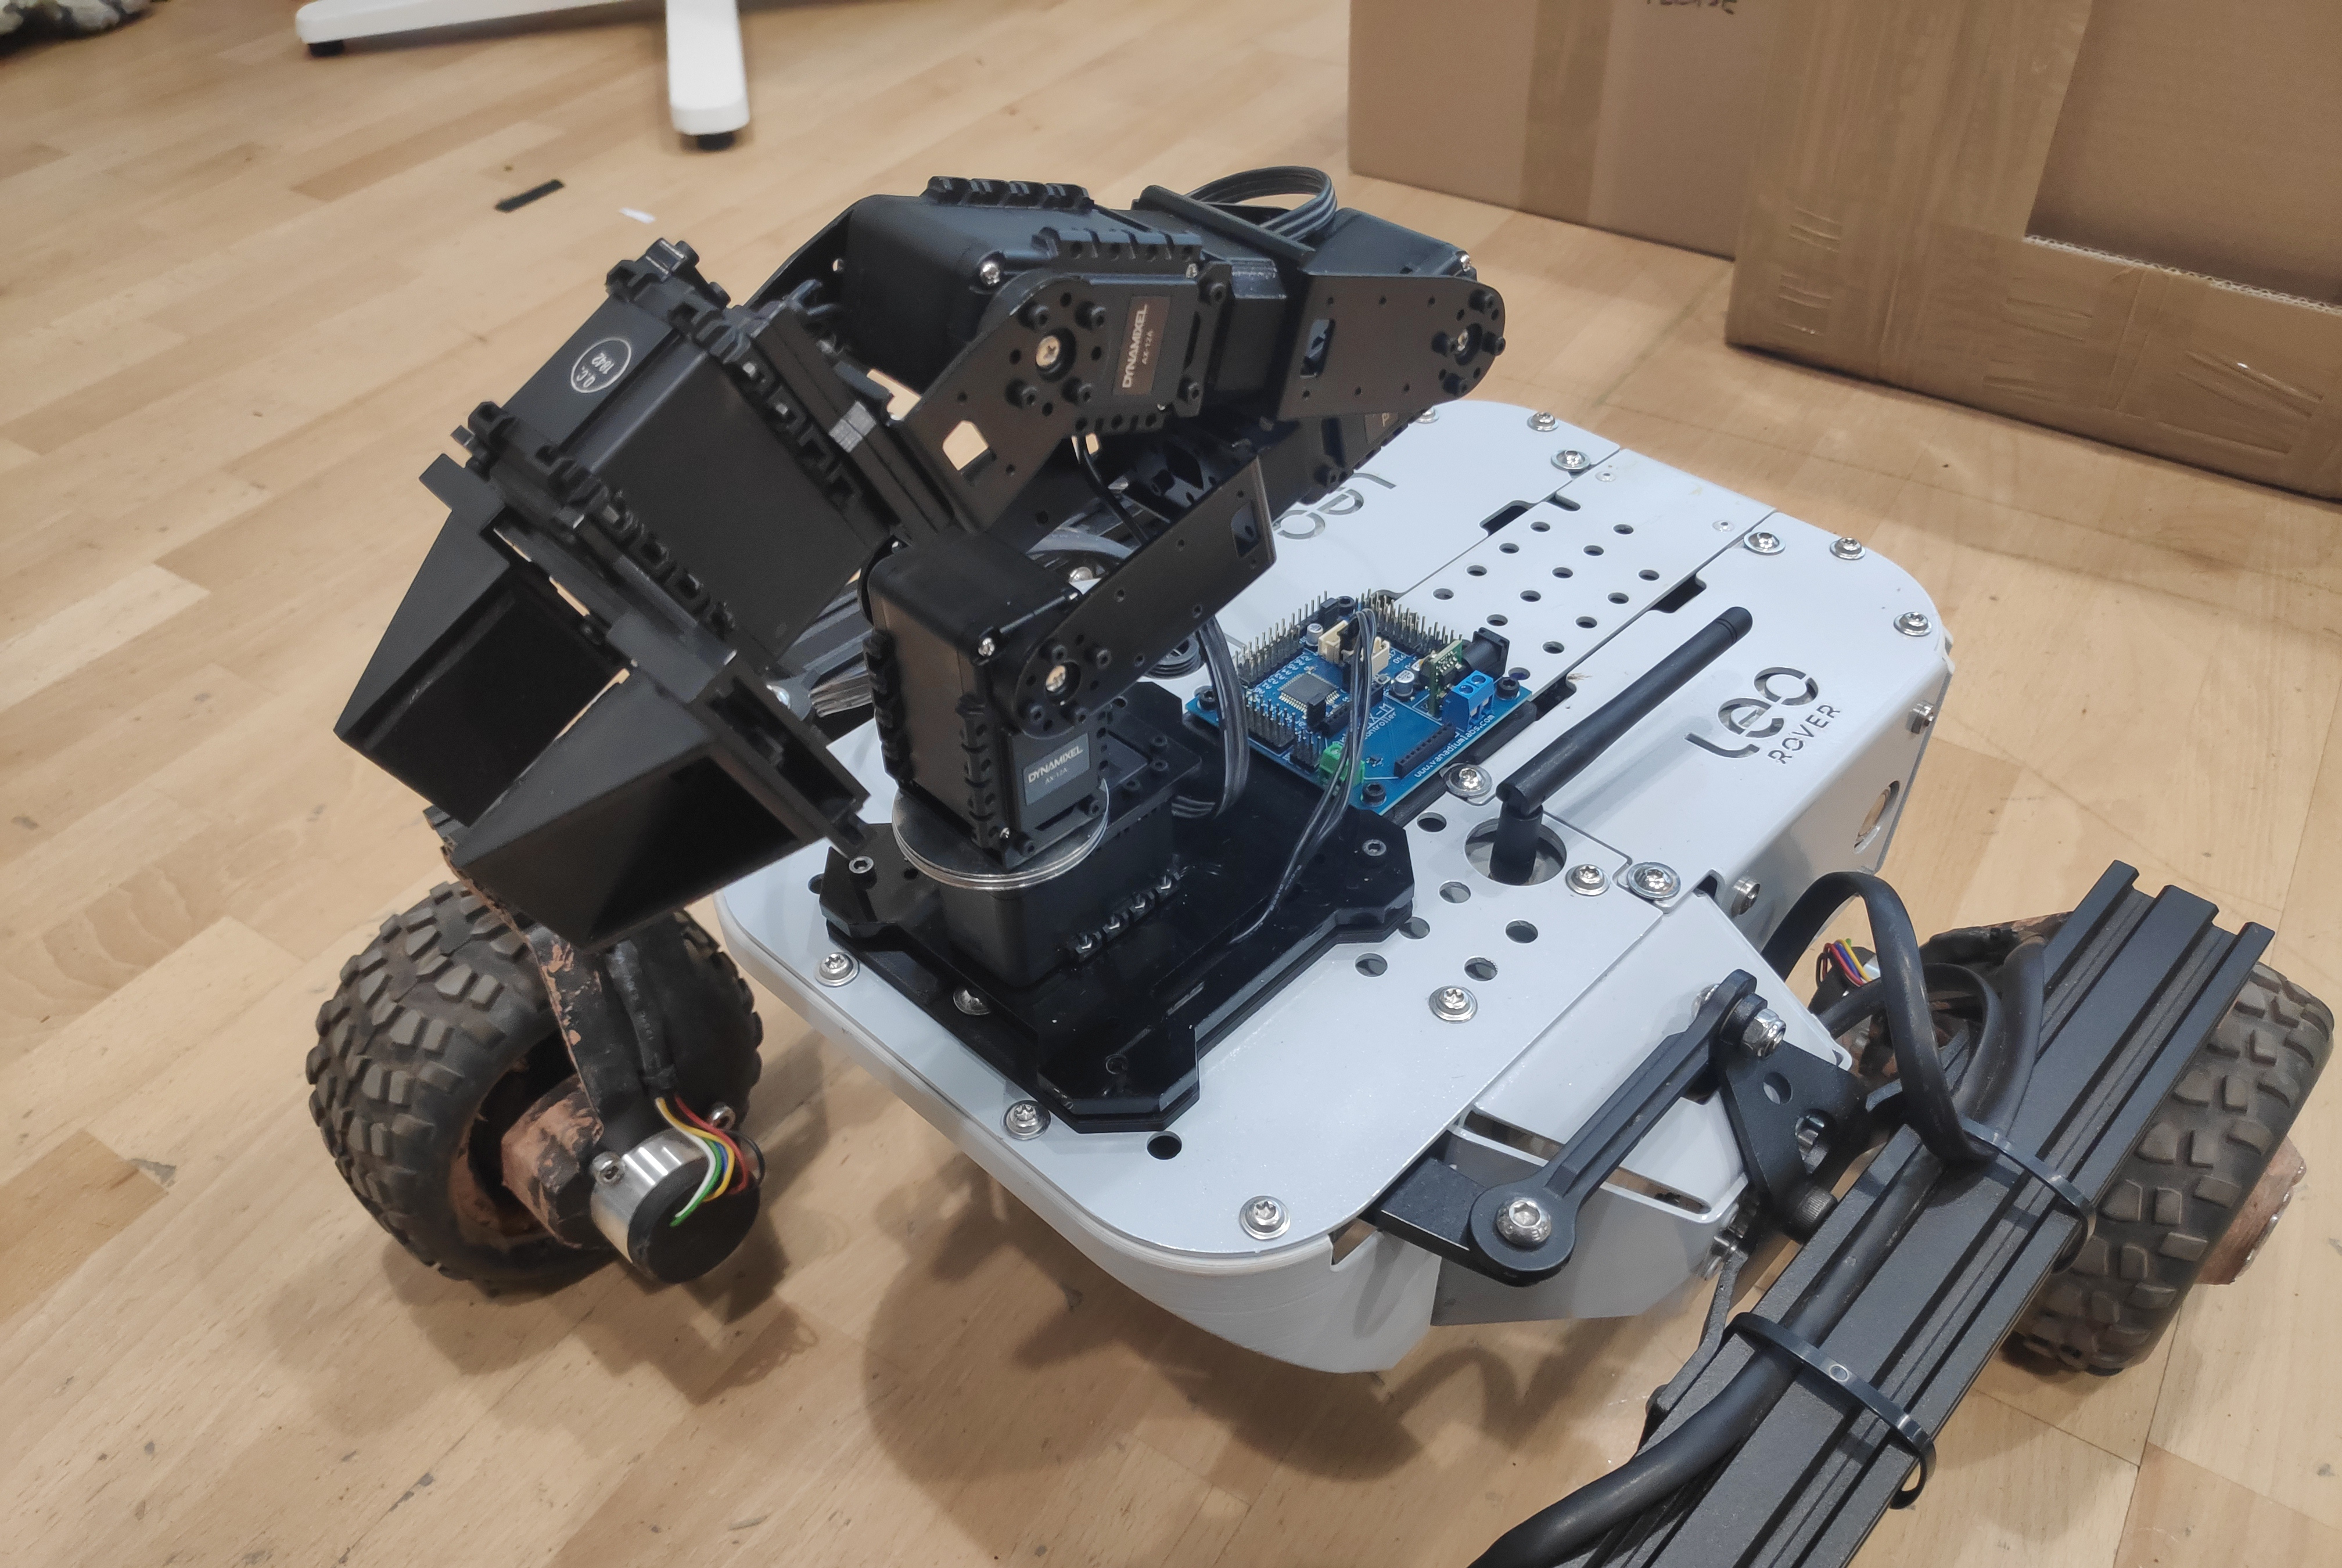
The arm has been redesigned to fit Leo Rover mounting plate. As the arm baseplate has became thinner, its range allows to grab objects from the ground as well as reach the rear and sides of Leo Rover.
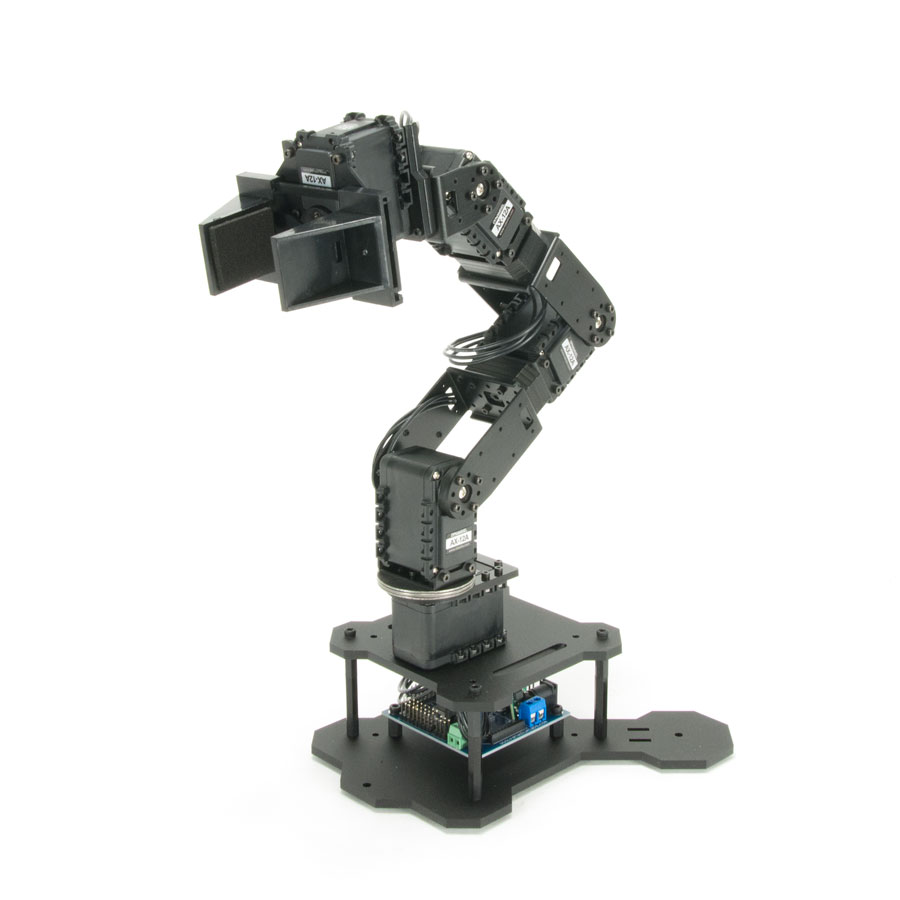
You'll follow the official instructions from Trossen Robotics' website to assemble the arm with only few exceptions that are specific to Leo Rover mounting interface.
PhantomX Pincher Robot Arm Assembly Guide - learn.trossenrobotics.com
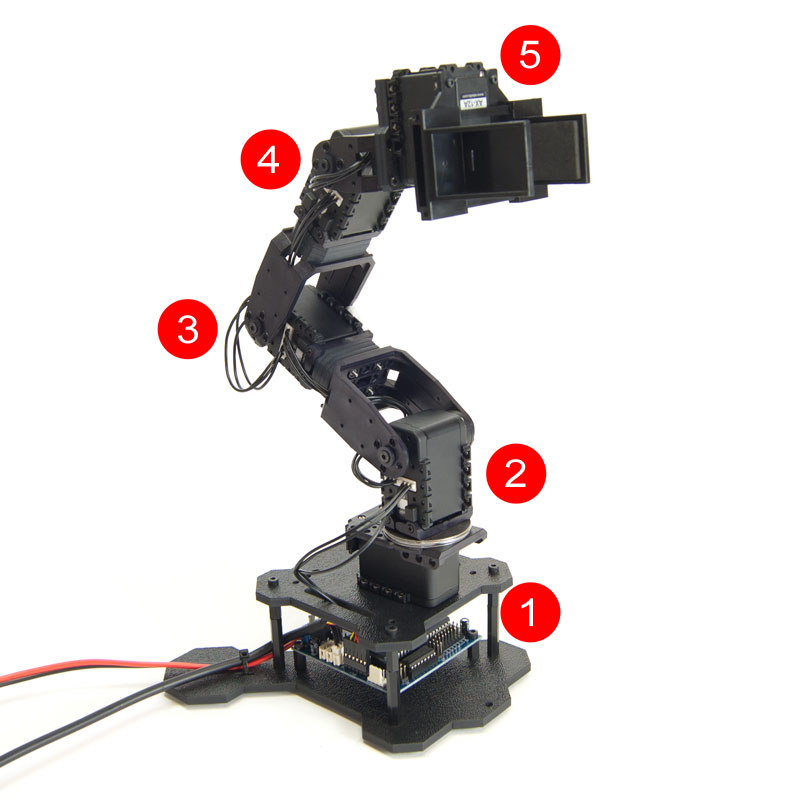
To properly communicate with the Dynamixel servos, you will need to set the servo IDs like in the picture below:
To do this, you can follow our guide for the Arbotix controller here:
In there, you will also find how to configure and use the arbotix ROS driver.
The pincher_arm packages contain very useful utilities for PhantomX Pincher arm, such as:
To use these features, you will need to install these packages on your Leo Rover (to run the arm driver) and on your computer (to control the arm remotely).
Make sure you have ROS installed:
then type in the terminal:
Make sure your rover is connected to the Internet:
You will only need packages that are required to start the arm driver:
Create an empty catkin workspace, if you don't have one yet:
Clone the packages into the source space:
Install the dependencies:
Build the workspace:
Source the result space:
You can start by testing if the driver runs properly.
Use roslaunch to start the arm controllers:
If everything started without errors, you should see new topics spawned (e.g. with rostopic list) to which you can send position commands:
as well as services for setting speed and relaxing joints. You can learn more about them in the ArbotiX-M Robocontroller tutorial.
Now that you confirmed that the driver works, you can integrate it with the main Leo Rover launch file and the URDF description.
Open the /etc/ros/robot.launch file in your favorite editor (e.g. nano) and add these lines before the closing </launch> tag:
Next, you will need to extend the robot's URDF description, by embedding the arm's description and adding a fixed joint between Leo and the Pincher arm. To do this, edit /etc/ros/urdf/robot.urdf.xacro by adding these lines before the closing </robot> tag:
Restart the leo service to apply the changes:
You will need to have ROS properly configured on your computer to communicate with the nodes running on Leo Rover. To learn how to do this, you can follow Connecting other computer to ROS network section of ROS Development tutorial:
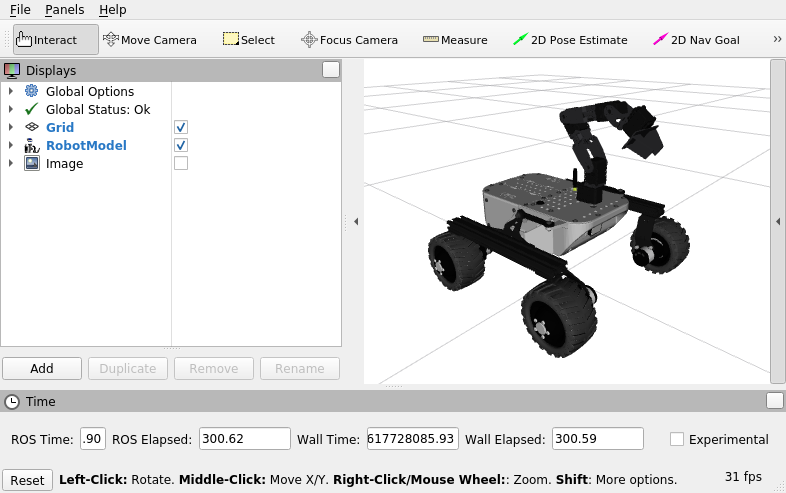
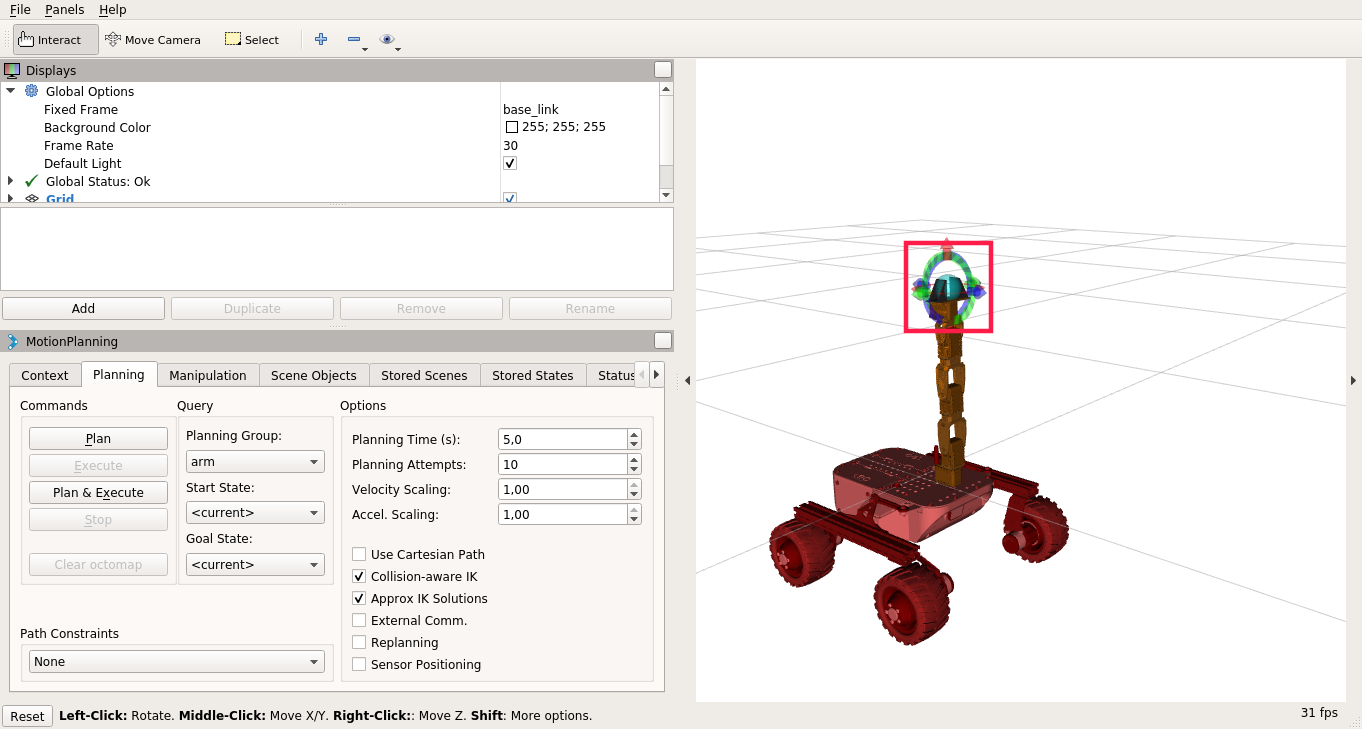
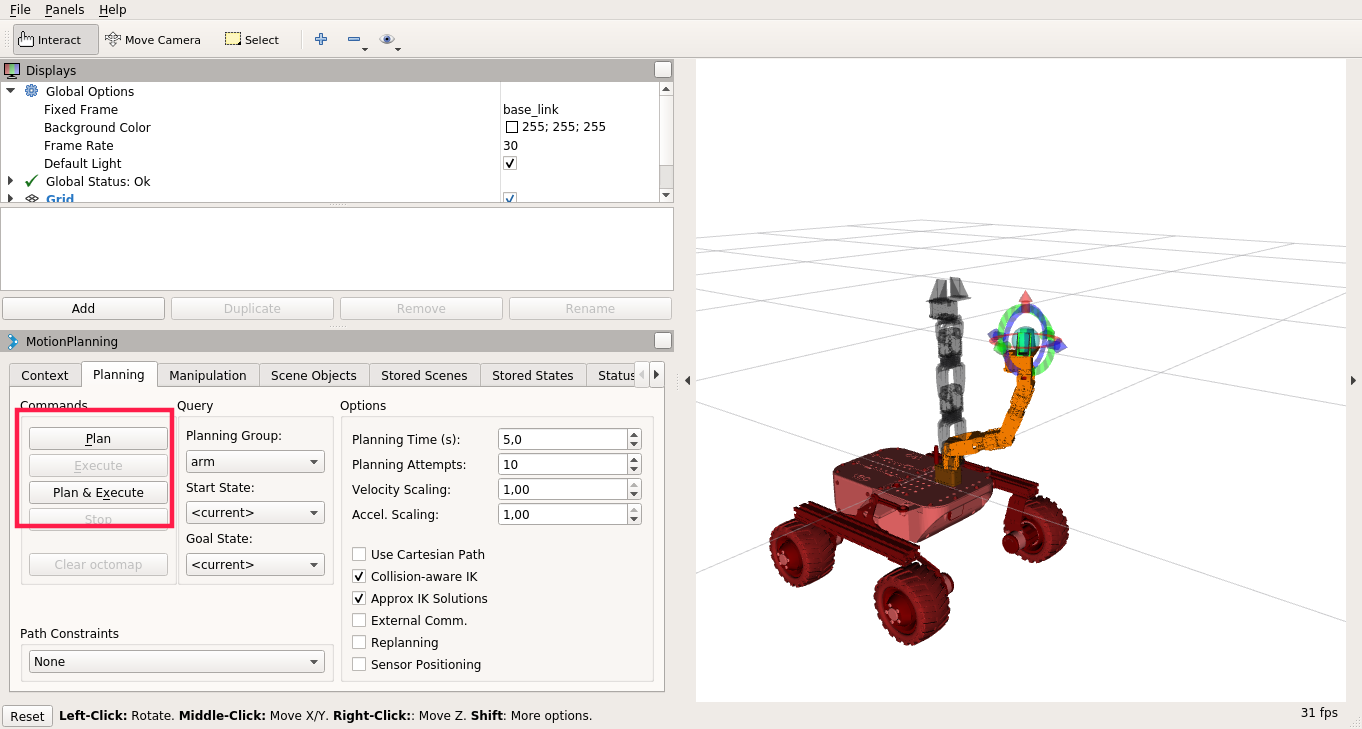
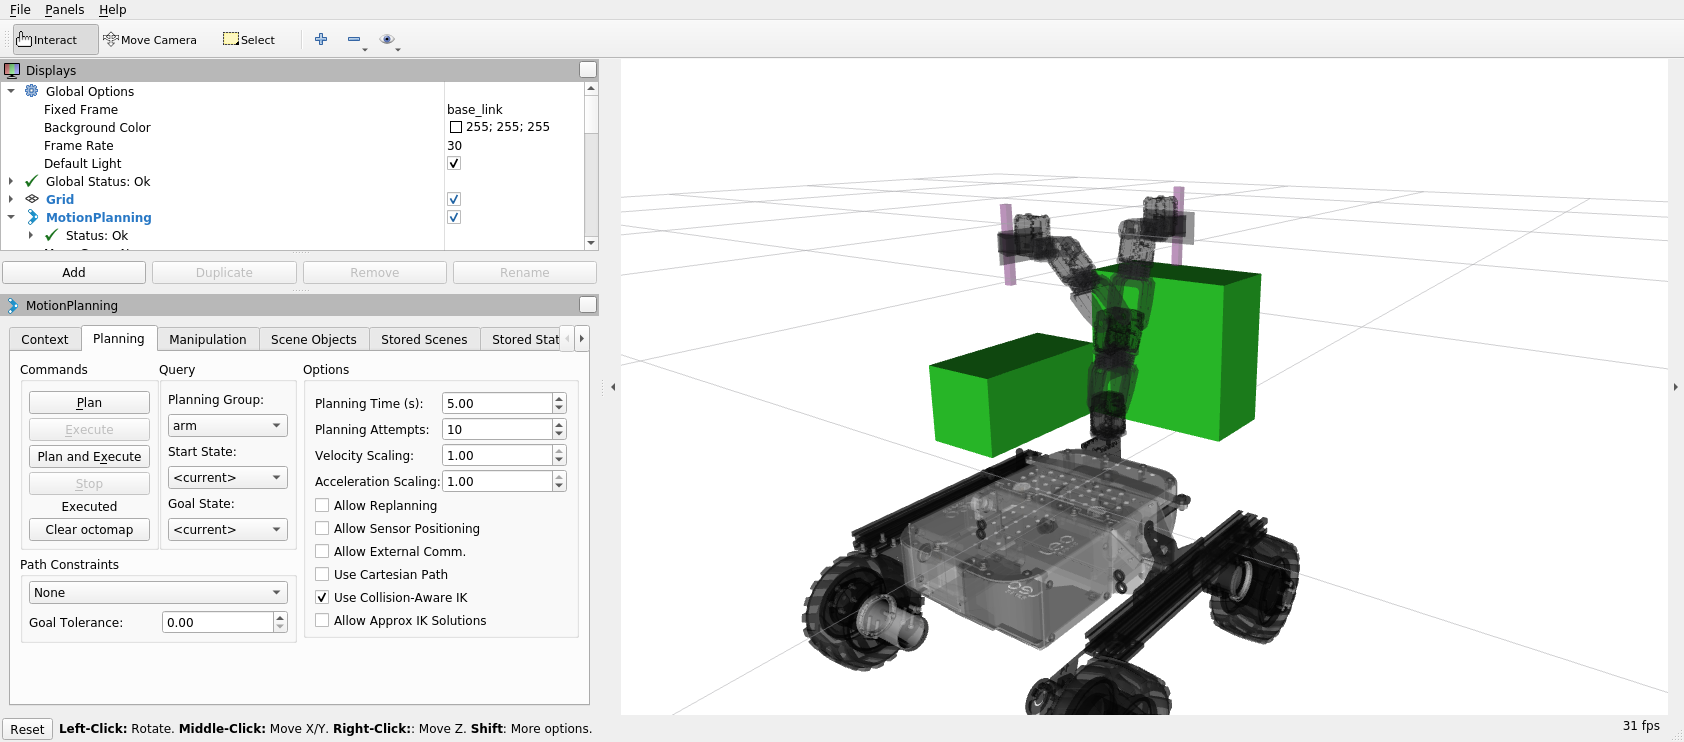
To visualize the position of the arm in RViz, just type:
To test Motion Planning with MoveIt! :

In this tutorial, we will show you how to configure and remotely control Trossen Robotics' PhantomX Pincher Robot connected to Leo Rover.
Find us on:
