This tutorial will show you how to program Leo Rover using Scratch 3.0 programming interface.
This tutorial will show you how to program Leo Rover using Scratch 3.0 programming interface.
Scratch is a block-based visual programming language dedicated to education. It's taught and used in schools and other educational institutions as one of the best ways to begin your programming adventure. You don't need any knowledge about software to start using it and it's easy to edit, yet provides all the basic functionalities of Leo Rover.
Here is an example of using Scratch with Leo Rover.
First, you need to connect Leo Rover to the internet, and then connect to the robot's access point (see prerequisites).
When connected to the rover's access point, you can launch Scratch 3.0 GUI.
To launch it, just enter this link: http://scratch3-ros.jsk.imi.i.u-tokyo.ac.jp
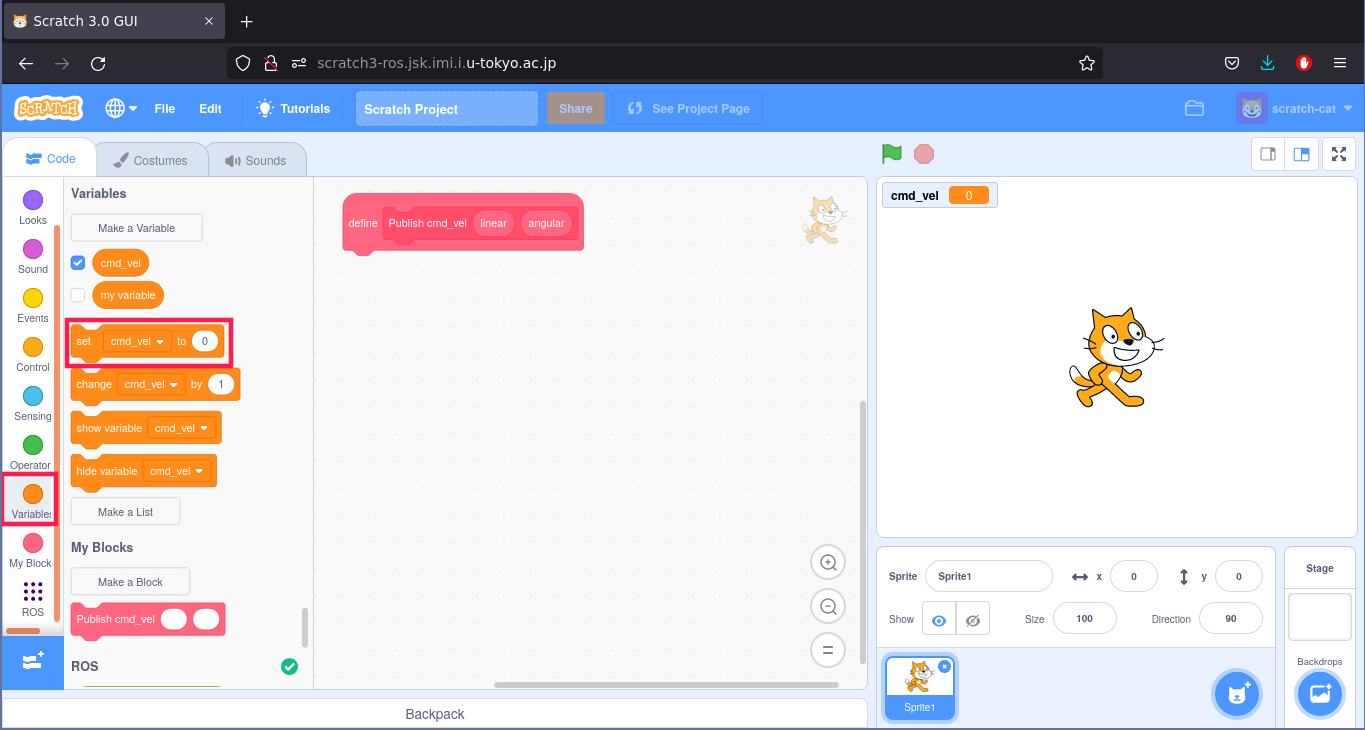
When the page loads, you should see something like this:

To program Leo Rover using Scratch, we need to add the ROS extension to the GUI.
Click the Add Extension button in the bottom left corner. You will see all the extensions.

Find and click Robot Operating System.

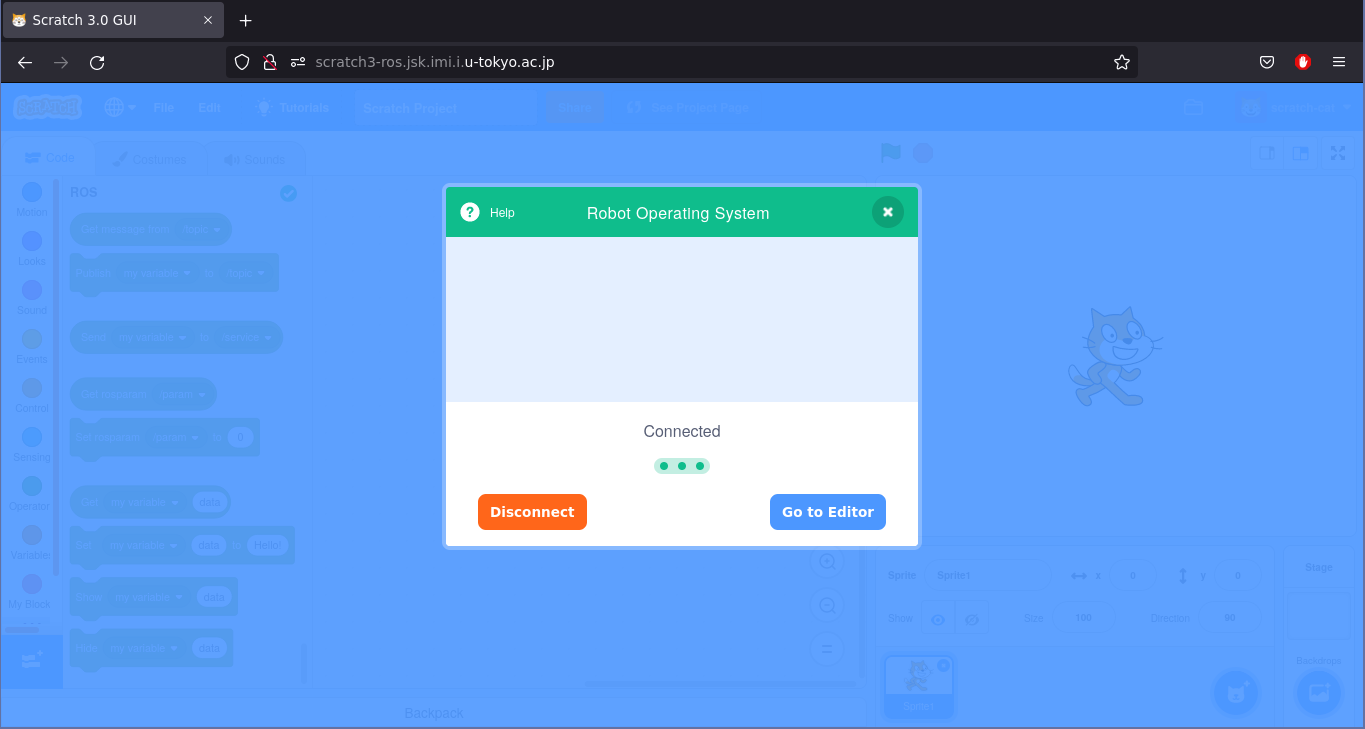
Then, in the Master Uri field, type the rover's Ip address (deafult 10.0.0.1) and press OK.

If everything is ok, you should see something like this. Just click Go to Editor and you are good to go.
We created an example Scratch project to help you understand the language.
As we are going to drive Leo Rover with arrows, we need to do similar things for all 4 arrows. To work smarter, not harder, first, we will make a function that tells the rover to drive and rotate with given speed values.
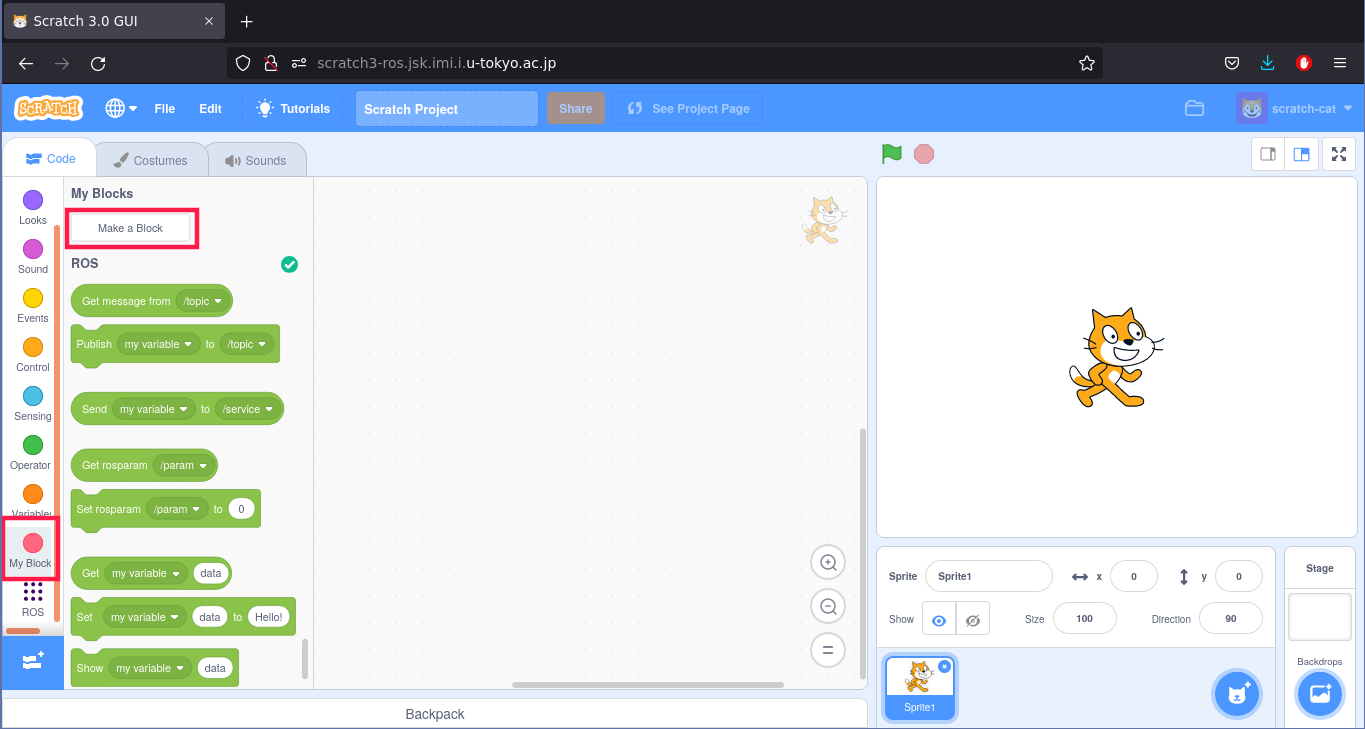
Start by defining new block. To do so, select from the left side of the screen My Block panel and press Make a Block.
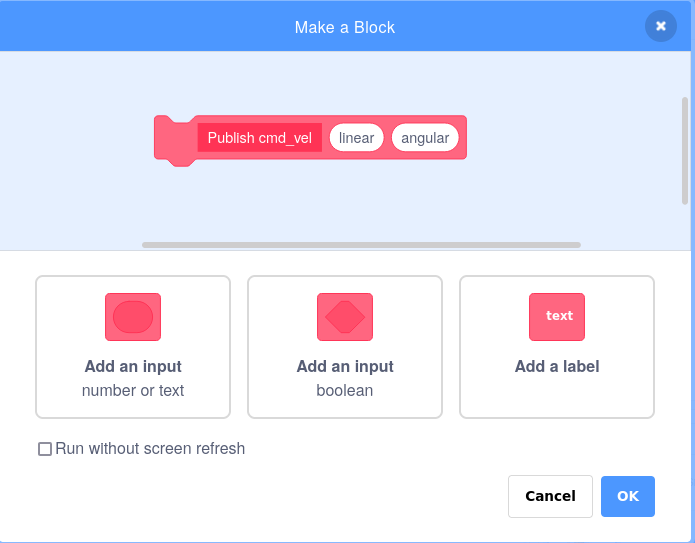
In the name write Publish cmd_vel, or any other name you want to call your function. Then add two input fields of type number or text. Name the first one linear, and the second angular and press OK. In the end, the block should look like this:
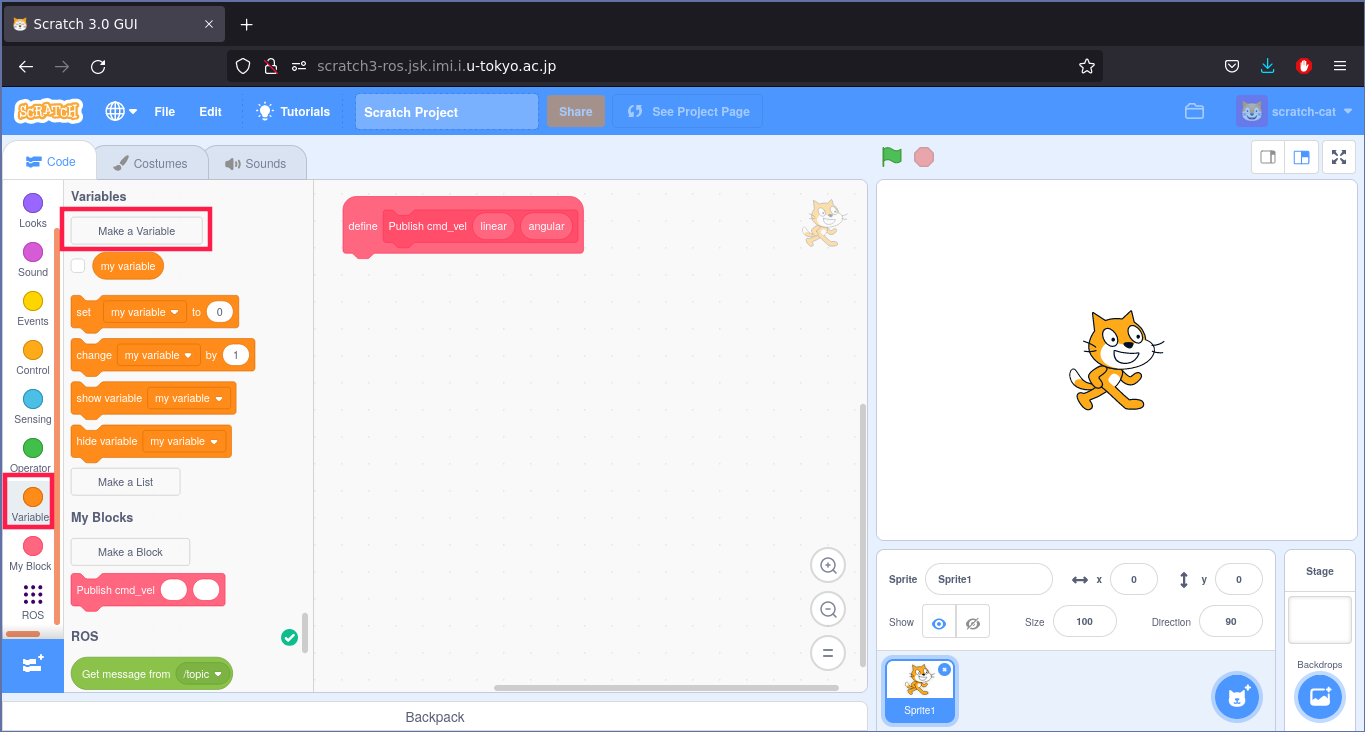
Now we need to make our variable, which will get the values from function, and will be published to the /cmd_vel topic. Similarly to making a new block, select from the panel on the left Variables and then Make a Variable. Name it cmd_vel or any other way, and press OK.
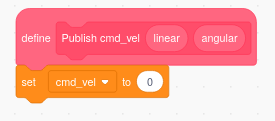
We need to reset our variable before publishing, so we need to add Set block from Variables panel, to our Publish cmd_vel block. From the list choose your variable (in our case cmd_vel) and for the value type 0.
After those steps our function should look like this:
Now, we need to store the value from linear and angular fields (function input) in our variable. As we have said in the background, /cmd_vel topic takes message of given type. To make it work with our variable, we can't use again Set block from Variables panel. We need to do it with the Set block, but from ROS panel. This block, will guarantee us, that the value from linear and angular fields will go to the corresponding fields from the ROS message (linear.x and angular.z).
So from the ROS panel pick Set block, and add it to function twice (we have two inputs in our function).

Now, we need to fill those blocks. For the variable we obviously pick cmd_vel. Now we need to specify the data which will be set in each of these Set blocks. One should be linear.x and the other angular.z.
Now we need to fill the value fields with corresponding input fields. So drag and drop input fields from the function in the correct places. This is how your function should look like at this moment:

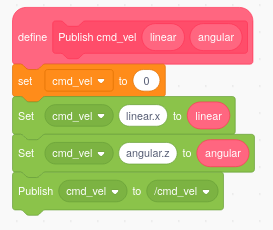
So we have our message. Now we need to publish it on the /cmd_vel topic. To do this, we need to add to our function Publish block from ROS panel.

Now we need to fill this block. We pick our cmd_vel variable, and /cmd_vel topic from all available topics. In the end our function looks like this:
As we have the drive function ready, we need to implement the driving with arrows. To do so, we need to catch when the arrow is pressed, and for each press we need to call our Publish cmd_vel function.
To do so, we are going to use When <key> is pressed block from Events panel. We need to pick four of those blocks, as there are four arrow keys.
Replace Space with left, right, up and down arrow. Now, for each of those blocks, we need to add our function. You can find it in the My Block panel.

The only thing that is left is filling the input fields in the functions. We need to pick the values carefully so that Leo Rover performs correct actions on arrows (up/down - driving forward/backward, left/down - rotating left/right). Here are the values that we have filled:
Now, you can press the arrow keys having the Scratch GUI open, and the rover should move.
| Make sure that the ROS extension is connected with the rover. You can check if it is connected by clicking the icon next to ROS panel header. If it's diconnected, you can establish connection once again by pressing the icon, and providing the Master Uri (Rover's ip address). |
Find us on:
